This post may contain affiliate links. If you purchase through one of these links, I may earn a small commission at no extra cost to you.
In this post, you will learn how to create digital products.
Creating your first digital product can feel overwhelming, especially when you are unsure what to design, which tools to use or how to prepare the final file.
The good news is that you do not need advanced design skills or expensive software to begin. Canva offers beginner-friendly templates and simple editing tools that can help you turn an idea into a useful digital product.
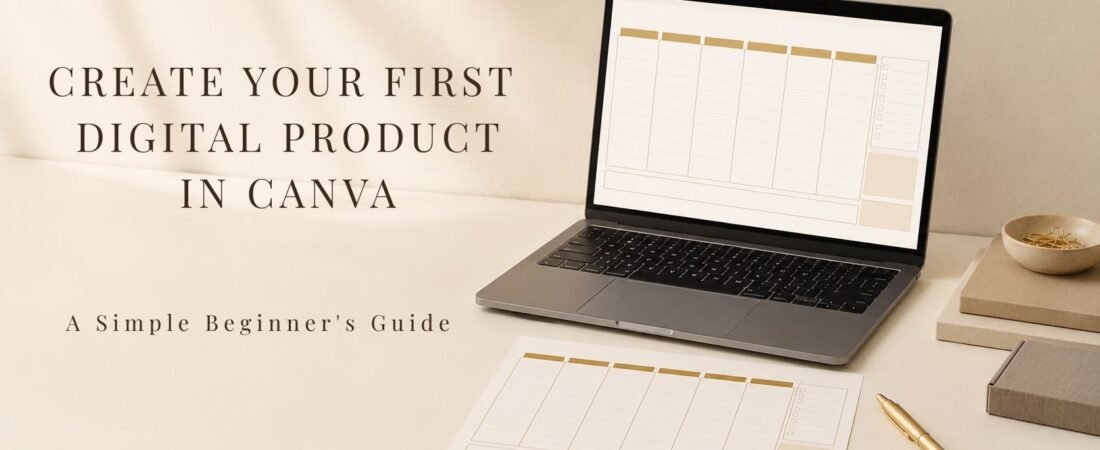
In this guide, we will create a simple printable planner. You can use the same process to make checklists, worksheets, ebooks and other digital downloads.
Step 1: Choose One Simple Product
Start with a small product that solves one clear problem.
A printable weekly planner is a good first project because it is easy to design, useful to many people and does not require complicated features.
Other beginner-friendly ideas include:
- A daily to-do list
- A meal planner
- A budget tracker
- A study planner
- A habit tracker
- A simple checklist
Avoid trying to create a large planner with dozens of pages for your first product. A focused one-page design is easier to finish, test and improve.
If you need more inspiration, read 7 Digital Products You Can Create in Canva:
Step 2: Choose a Specific Audience
A product becomes more useful when it is created for a particular type of customer.
Instead of designing a general weekly planner for everyone, you could create one for:
- University students
- Busy parents
- Small-business owners
- Teachers
- Freelancers
- People working from home
Think about what that person needs. A student may need space for assignments and deadlines, while a small-business owner may need sections for priorities, appointments and weekly goals.
You do not need to create something completely new. Your aim is to make the product clear, practical and suitable for a specific user.
Step 3: Plan the Content Before Designing
Before opening Canva, write down what your product needs to include.
For a simple weekly planner, you might include:
- The days of the week
- Three main priorities
- A to-do list
- Important appointments
- Notes
- A weekly goal
Keep the number of sections manageable. Too many boxes, colours and decorative elements can make a planner difficult to use.
A simple outline will help you work faster and prevent you from changing the layout repeatedly.
Step 4: Create Your Design in Canva
Open Canva and select Create a design.
For a printable product, you can choose A4 Document or US Letter Document, depending on the audience you want to serve. You may eventually offer both versions, but begin with one size while learning the process.
You can either start with a blank page or use a template for inspiration.
If you use a Canva template, change the layout, colours, fonts and content so that the finished product reflects your own creative decisions. Do not simply download an existing template and sell it without adding original value.
For a clean and professional design:
- Use no more than two fonts
- Choose two or three coordinating colours
- Keep headings clear and easy to read
- Leave enough writing space
- Align boxes and text consistently
- Avoid unnecessary decoration
Your first design does not need to be perfect. It needs to be useful, readable and easy to print.
Step 5: Customise the Layout
Now add your planned sections to the page.
Use headings to show customers where to write. Make important sections slightly larger and keep supporting sections smaller.
Check the spacing between every element. Boxes should not feel crowded, and text should not sit too close to the edges.
If you are creating a product for home printing, avoid using large areas of dark colour. Designs with a light background require less printer ink and are often easier to write on.
You can also create a second colour version after the main layout is complete. However, make sure each version is genuinely useful rather than adding colours simply to increase the number of files.
Step 6: Check Your Design Carefully
Before downloading the product, review every part of the design.
Check for:
- Spelling mistakes
- Uneven spacing
- Misaligned text or boxes
- Text that is too small
- Elements positioned too close to the edge
- Inconsistent fonts or colours
Download a test copy and print it at home if possible. This helps you see whether the writing spaces are large enough and whether the text remains clear on paper.
It is also helpful to ask someone else to look at the product. Another person may notice a mistake or usability issue that you missed.
Step 7: Download the Correct File
When the design is ready, select Share, then Download.
For a printable product, choose PDF Print for a high-quality print-ready file. Canva describes PDF Print as its higher-resolution PDF option for printing.
If the product is intended mainly for viewing on a screen or sending by email, PDF Standard may be sufficient.
Use a clear filename such as:
Weekly-Student-Planner-A4.pdf
Avoid filenames such as “final version 2” or “new planner”. A descriptive filename helps customers understand what they have downloaded.
If your product contains several files, organise them clearly and place them in a ZIP folder before uploading them to your selling platform.
Understand Canva’s Licensing Rules
You can create and sell many finished digital products made with Canva, but your work must comply with Canva’s current Content License Agreement.
Your final product should contain your own layout, creative choices and original value. Do not sell individual Canva photos, graphics or other content as standalone files.
Template products can have additional considerations, so always review Canva’s current licensing information before selling.
You can read Canva’s official licensing guidance here:
Create Product Images
Customers need to understand exactly what they will receive.
Create several product images showing:
- The complete planner page
- A close-up of important sections
- The product displayed on a tablet or laptop
- A printed version on a desk
- The included file type and paper size
Mockups make a digital product feel more tangible, but they should accurately represent the actual product. Avoid showing pages or accessories that are not included.
Decide Where to Sell Your Product
Once your product is ready, you need a platform that can accept payment and deliver the digital file.
Popular options include:
- Etsy
- Gumroad
- Payhip
- Shopify
- Your own website with an ecommerce system
Compare the platform fees, payment options and digital-delivery features before choosing.
You do not need to sell everywhere immediately. Select one platform, learn how it works and improve your listing before expanding.
Start Small and Improve
Your first digital product is a learning project. It may not generate sales immediately, but it will teach you how to research an idea, organise content, design a useful file and present it online.
Begin with one simple product, collect feedback and improve it. You can then create related products for the same audience and gradually build a coordinated collection.
Canva Free is enough for many beginners. Canva Pro becomes more useful when you create regularly and need premium content, background removal, resizing tools or a consistent brand kit.
To compare the two versions, read Canva Free vs Canva Pro: Which One Is Right for You?
The most important step is to finish your first useful product. Keep it simple, test the file carefully and learn from the process.