This post may contain affiliate links. If you purchase through one of these links, I may earn a small commission at no extra cost to you.
Starting a website can feel complicated when you are unfamiliar with hosting, domains and WordPress. The good news is that you do not need advanced technical skills to create a simple and professional website.
Hostinger provides hosting, domain management and a guided WordPress setup in one place. This makes it a practical option for beginners who want to start a blog, promote affiliate products, sell digital downloads or build an online business.
In this guide, I will walk you through the main steps involved in starting a WordPress website with Hostinger.
What You Need Before Starting
Before purchasing hosting, decide on three basic things:
- The main purpose of your website
- The audience you want to help
- A short and memorable domain name
For example, a website about digital products could publish Canva tutorials, product ideas, useful tools and beginner business guides.
Your first website does not need to cover every subject. A focused topic makes it easier to create useful articles and attract the right audience.
Step 1: Choose a Hostinger Hosting Plan
Hostinger offers several hosting plans. Beginners usually do not need the most expensive option.
Look for a plan that supports WordPress and includes the features you actually need, such as:
- Hosting for at least one website
- Enough storage for your articles and images
- SSL security
- WordPress installation
- A domain for the first year, if included
- Business email, if included
- Regular backups
Always check the total initial payment and the renewal price before purchasing. Introductory prices may only apply to the first subscription period.
Hostinger link: [Add your Hostinger affiliate link here after approval]
Step 2: Register or Connect Your Domain
Your domain is the address visitors use to find your website.
A good domain should be:
- Easy to spell
- Easy to remember
- Relevant to your brand
- Flexible enough for future growth
Avoid long names, unnecessary numbers and unusual spellings.
If your hosting plan includes a free domain, you can register it during the setup process. If you already own a domain, Hostinger will guide you through connecting it to your hosting account.
Use accurate contact details when registering a domain. These details may be required for account verification and domain ownership.

Step 3: Choose WordPress
During the setup process, Hostinger may ask how you want to build your website.
You may see options such as:
- Hostinger Website Builder
- WordPress
- An AI website builder
- A custom HTML or PHP website
Choose WordPress if you plan to publish articles, build long-term search traffic, add affiliate links or expand your website later.
WordPress offers more flexibility through themes and plugins. It also makes it easier to manage blog posts, categories, pages and website menus.
A website builder may be simpler at first, but WordPress is usually the better choice for a content-focused affiliate website.
Step 4: Select Your Website Location
Hostinger may ask where your target audience is located.
Choose a data centre close to the majority of your expected visitors. This can help pages load faster for that audience.
For example, a UK data centre is a sensible choice if most of your content is intended for readers in the United Kingdom or nearby European countries.
Do not worry if you expect visitors from several countries. Website caching and content delivery tools can help improve performance internationally.
Step 5: Complete the WordPress Setup
Hostinger will guide you through installing WordPress and creating your administrator account.
Choose a secure username and password. Do not use “admin” as your username, and do not reuse a password from another account.
After installation, you can access your WordPress dashboard. This is where you will manage:
- Posts
- Pages
- Images
- Menus
- Themes
- Plugins
- Comments
- Website settings
Save your WordPress login page in your browser so you can find it easily.
Step 6: Choose a Theme and Customize Your Website
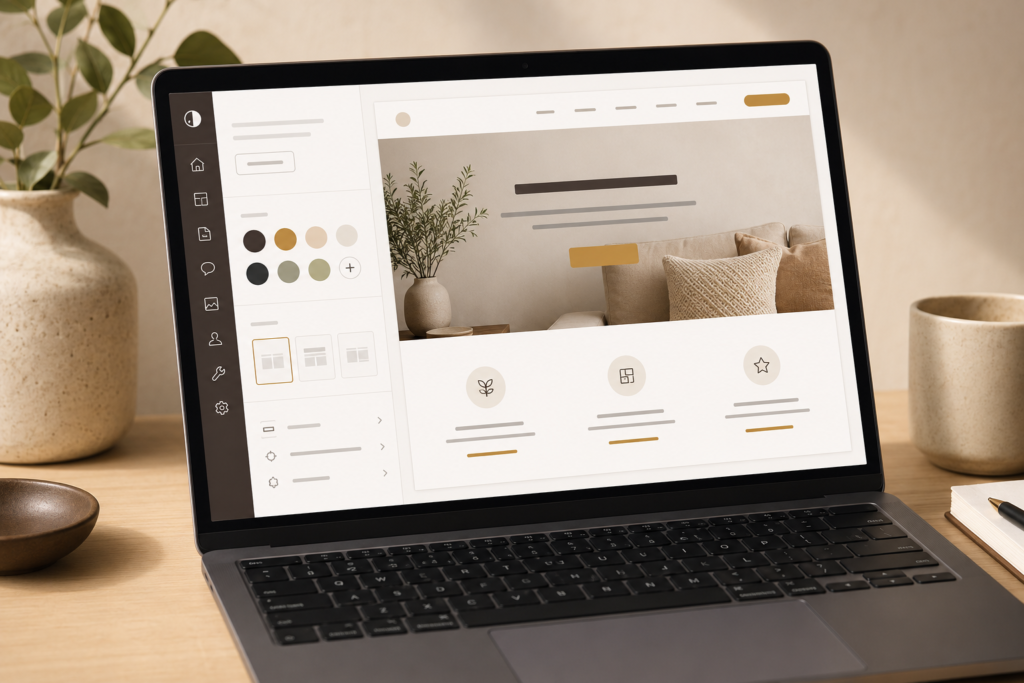
A WordPress theme controls the general appearance of your website.
Start with a clean, lightweight theme rather than one with too many animations or complicated features. Your content should remain the main focus.
You can also use a page editor such as Elementor to customize sections visually.
For a simple brand style, choose:
- One background colour
- One main text colour
- One accent colour
- One heading font
- One body font
Using the same colours and fonts across your website and Pinterest graphics will make your brand feel more consistent.
Do not spend several weeks trying to make the website perfect. A clear and functional website with useful content is more valuable than a beautiful empty website.
Step 7: Create the Essential Pages
Before promoting affiliate products, create the main pages visitors expect to see.
Home
Explain what your website offers and who it helps.
About
Introduce the purpose of your website and the type of content readers can expect.
Blog
Display your latest articles and guides.
Contact
Give visitors a safe way to contact you. A contact form or business email is better than publishing your personal phone number.
Privacy Policy
Explain how your website handles visitor information, cookies and third-party services.
Affiliate Disclosure
Clearly explain that you may earn a commission when readers purchase through certain links.
You should also place a short affiliate disclosure near the beginning of every article containing affiliate links.
Step 8: Publish Your First Article
Your first article should answer a specific question your target audience is already asking.
Useful beginner article ideas include:
- How to create your first digital product
- Canva Free versus Canva Pro
- Digital products beginners can sell
- Tools for starting an online business
- Common mistakes new digital product sellers make
Use one main title and divide the article into clear H2 sections. Keep paragraphs short and add relevant images when they help explain the subject.
Before publishing, check:
- The title
- The page URL
- Heading structure
- Spelling
- Featured image
- Image alt text
- Category
- Tags
- Internal links
- Affiliate disclosure
After publishing, open the article in a private browser window to confirm that it works for visitors who are not signed into WordPress.
Common Beginner Mistakes to Avoid
Choosing a Plan Without Checking Renewal Costs
Look beyond the introductory monthly price. Check the total payment and future renewal cost before completing your order.
Installing Too Many Plugins
Every plugin can affect performance or security. Only install plugins that solve a clear problem.
Using Large Images
Large image files can slow down your website. Resize and compress images before uploading them.
Publishing Unrelated Content
Choose a main subject and create connected articles. This helps readers and search engines understand what your website is about.
Adding Affiliate Links Without Disclosure
Always disclose affiliate relationships clearly. The disclosure should be easy to notice and understand.
Expecting Immediate Traffic
A new website usually needs time to build visibility. Continue publishing helpful content and promoting it through channels such as Pinterest, search engines and, later, YouTube.
Final Thoughts
Starting a WordPress website may seem technical, but the process becomes manageable when you complete it one step at a time.
Begin with a simple hosting plan, choose a clear domain, install WordPress and create the essential pages. Once the foundation is ready, focus on publishing helpful articles that answer real questions.
Your first website does not need to be perfect. It needs to work, provide value and give you a place to build your content over time.
Ready to start your website?